
Presntor Walkthrough
Intro / Hero Section
Presntor
A complete presentation management console for live events, services, and productions.
Presntor is a desktop application designed to streamline the entire process of managing slides, media, scripture display, and live streaming for real-time events. It’s built as a unified tool that combines PowerPoint control, Bible verse automation, and OBS scene management — all within one cohesive interface.
Whether you're orchestrating a service, coordinating an event, or directing a live production, Presntor enables you to stage everything in advance and then run the entire session from a single screen, with minimal switching and maximum clarity.
Key Capabilities:
- Import and manage multiple PowerPoint presentations, images, or video files.
- Combine slides from different sources into one seamless flow.
- Present scripture directly using VerseView integration.
- Switch OBS scenes, toggle sources, and control audio and streaming.
- Instantly present one-off files through drag-and-drop Quick Present.
Presntor is designed to reduce complexity and operator load by centralizing all presentation workflows into a focused, efficient interface.
Section 1 – The Six Main Sections of the GUI
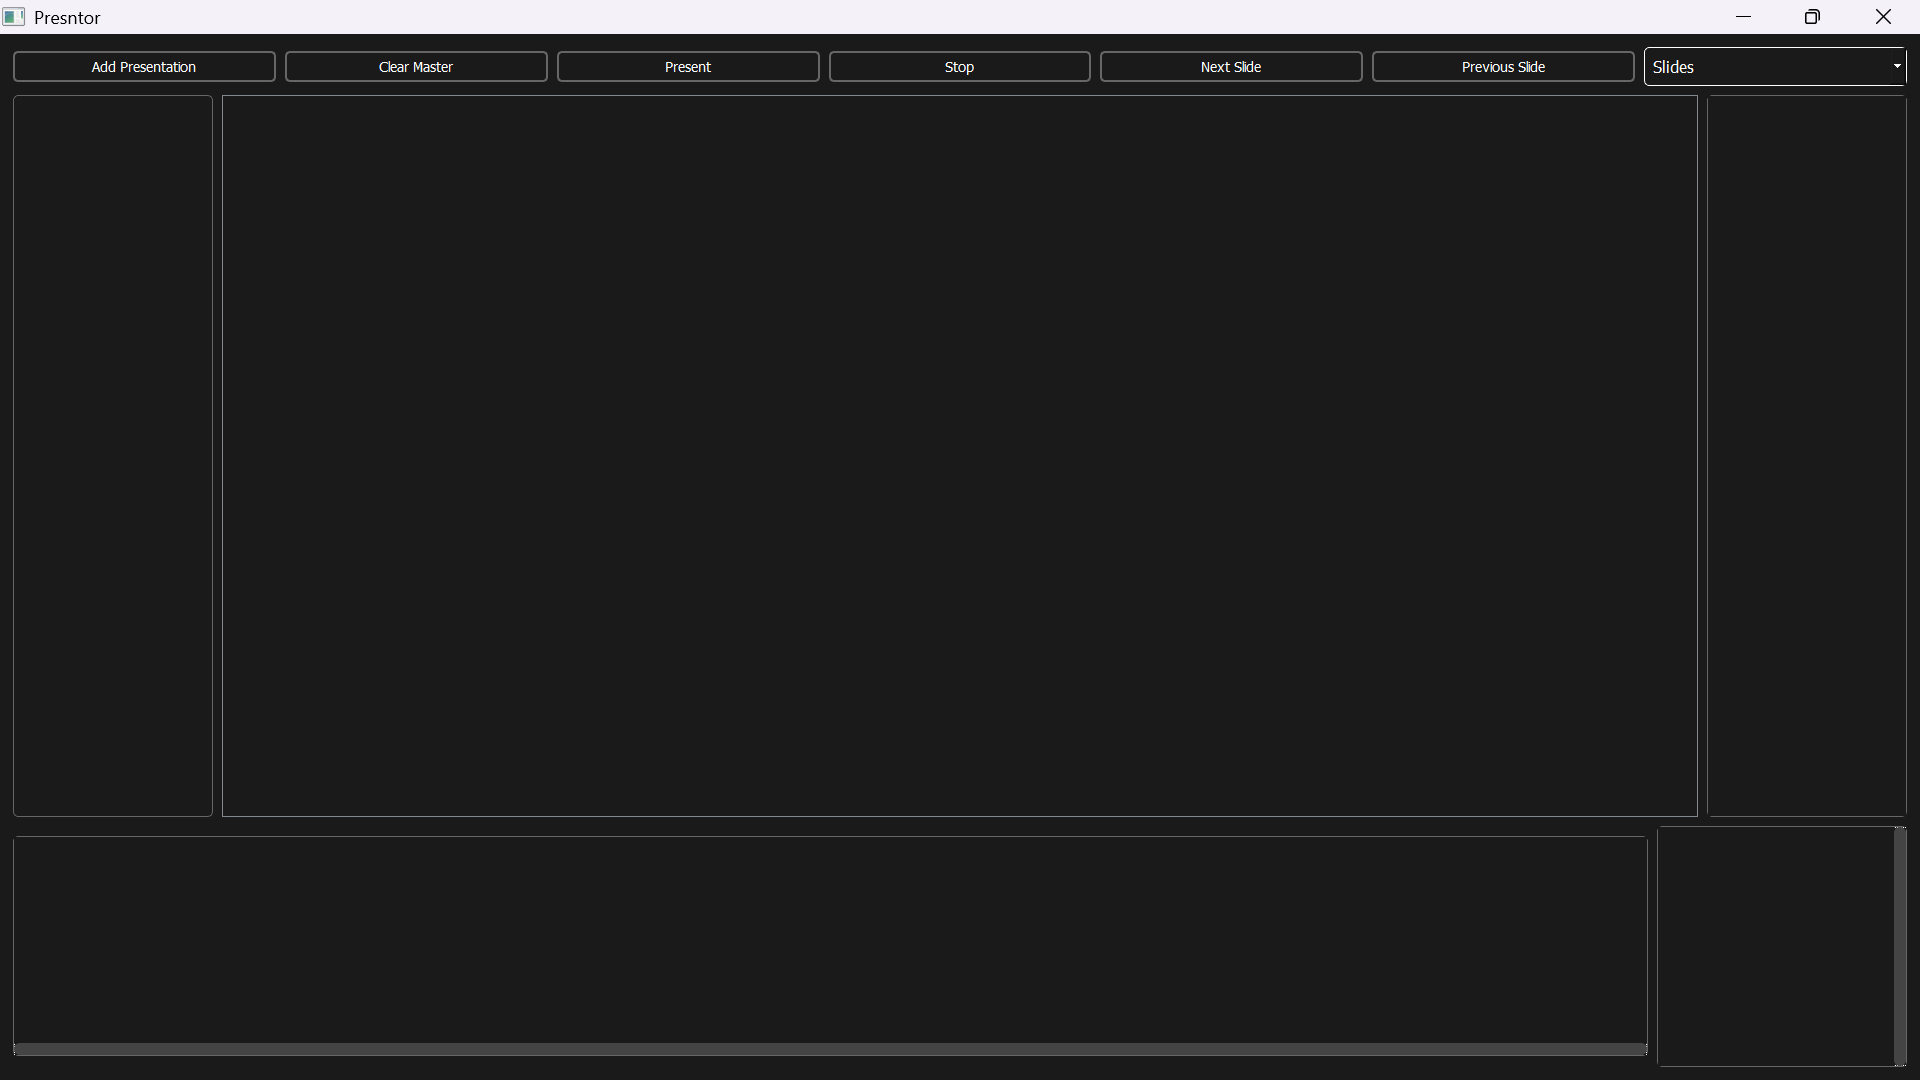
The Layout
Presntor is divided into six logical sections that work together in real time to manage your session:
- Top Button Controls: For adding files, launching presentations, stopping them, and navigating slides.
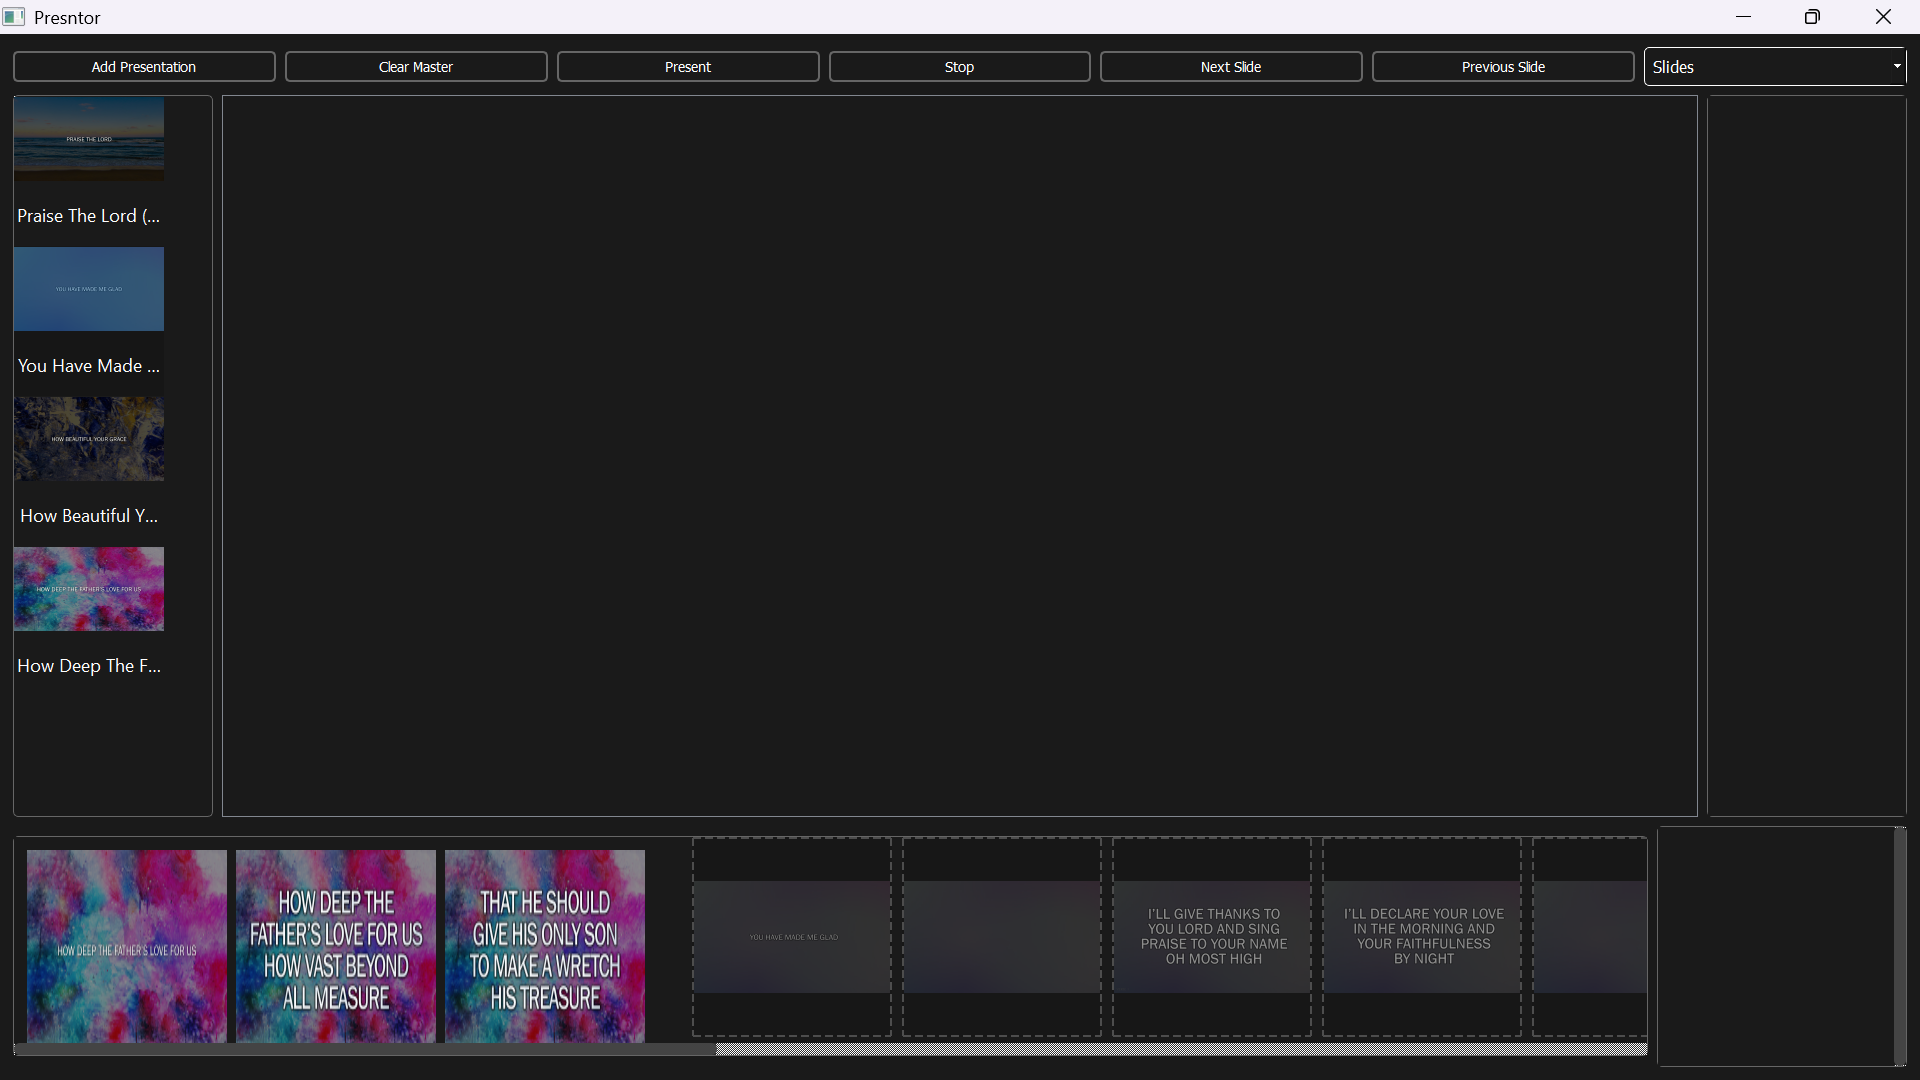
- Presentation List (Left Panel): A scrollable thumbnail view of all added presentations, images, and videos.
- Current Slide (Center): Displays the currently selected slide from your timeline, ready for presentation.
- Dynamic Right Panel: Changes based on mode selection (via dropdown): Slides, Bible Reading controls, or OBS interface.
- Master Slides Section (Bottom-Left): This is where you build your session timeline by arranging slides.
- Quick Present Section (Bottom-Right): For instantly presenting any file without adding it to the timeline.
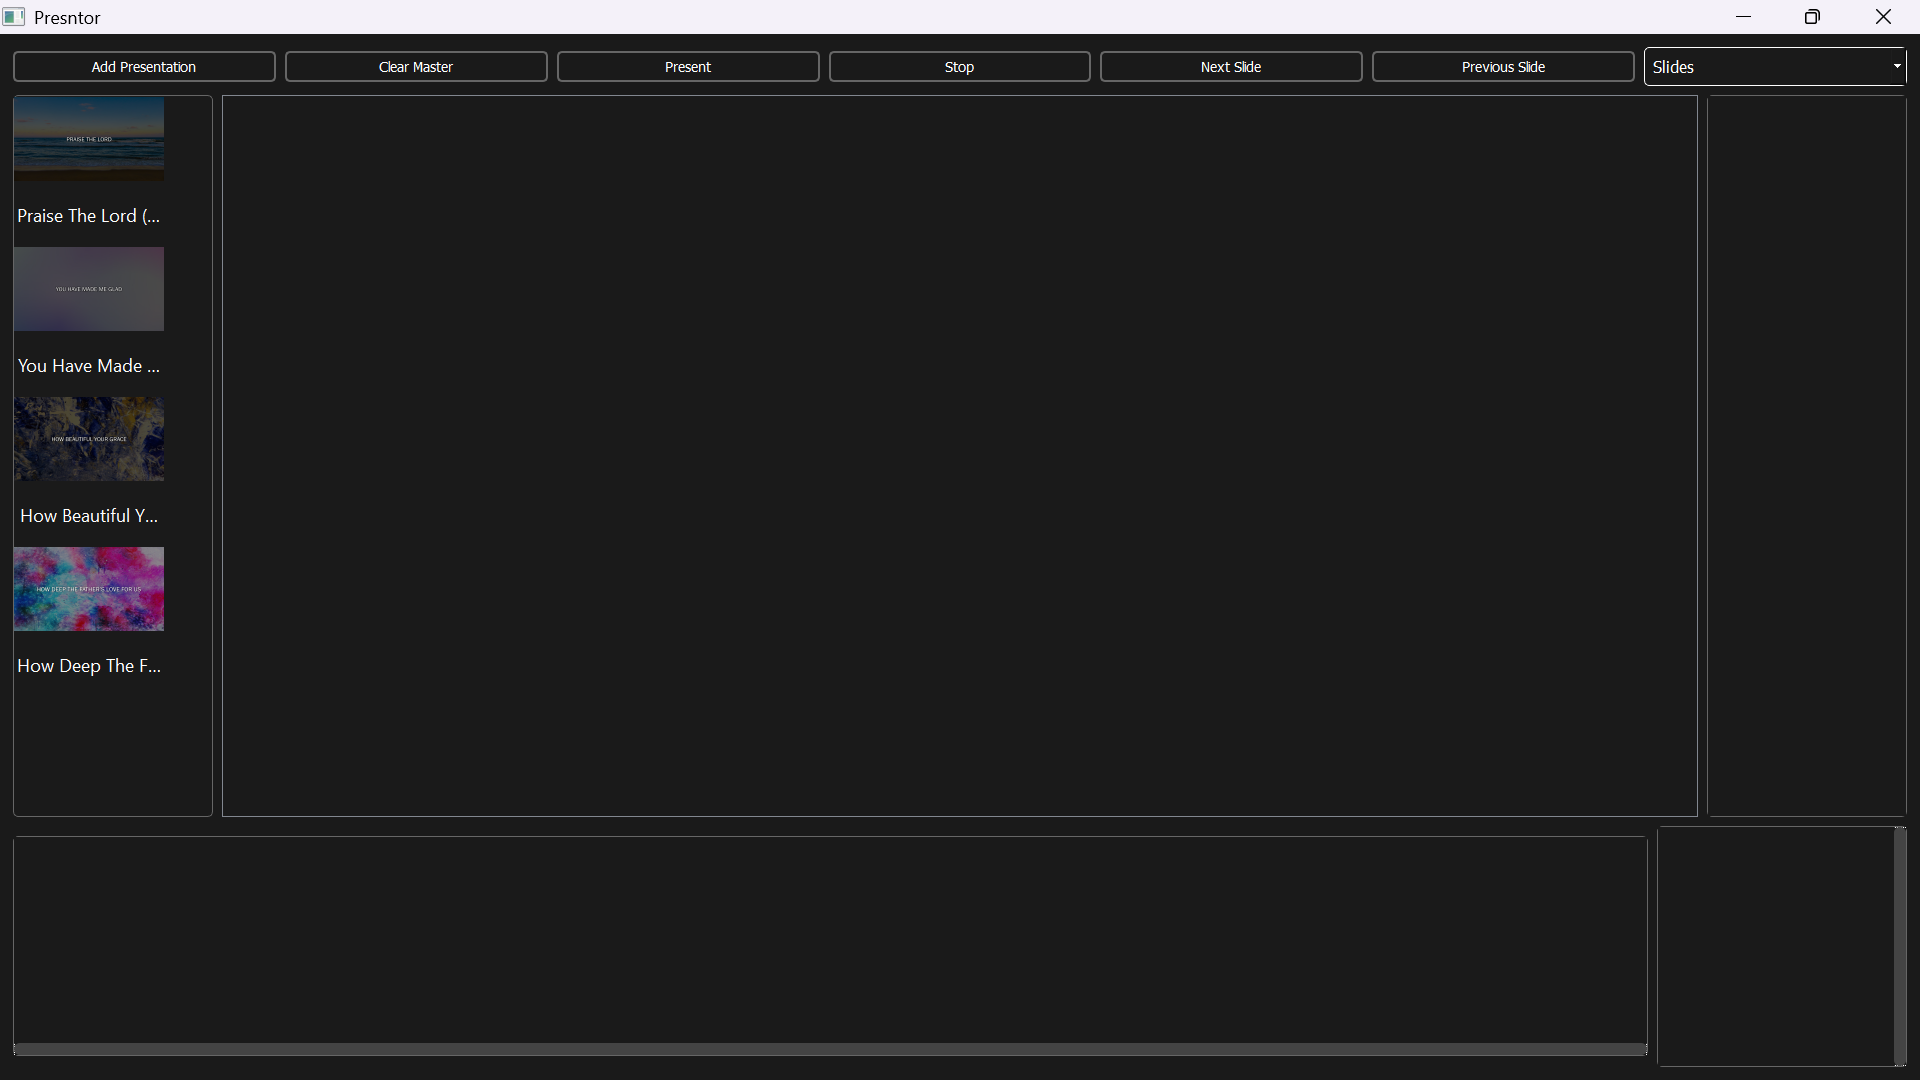
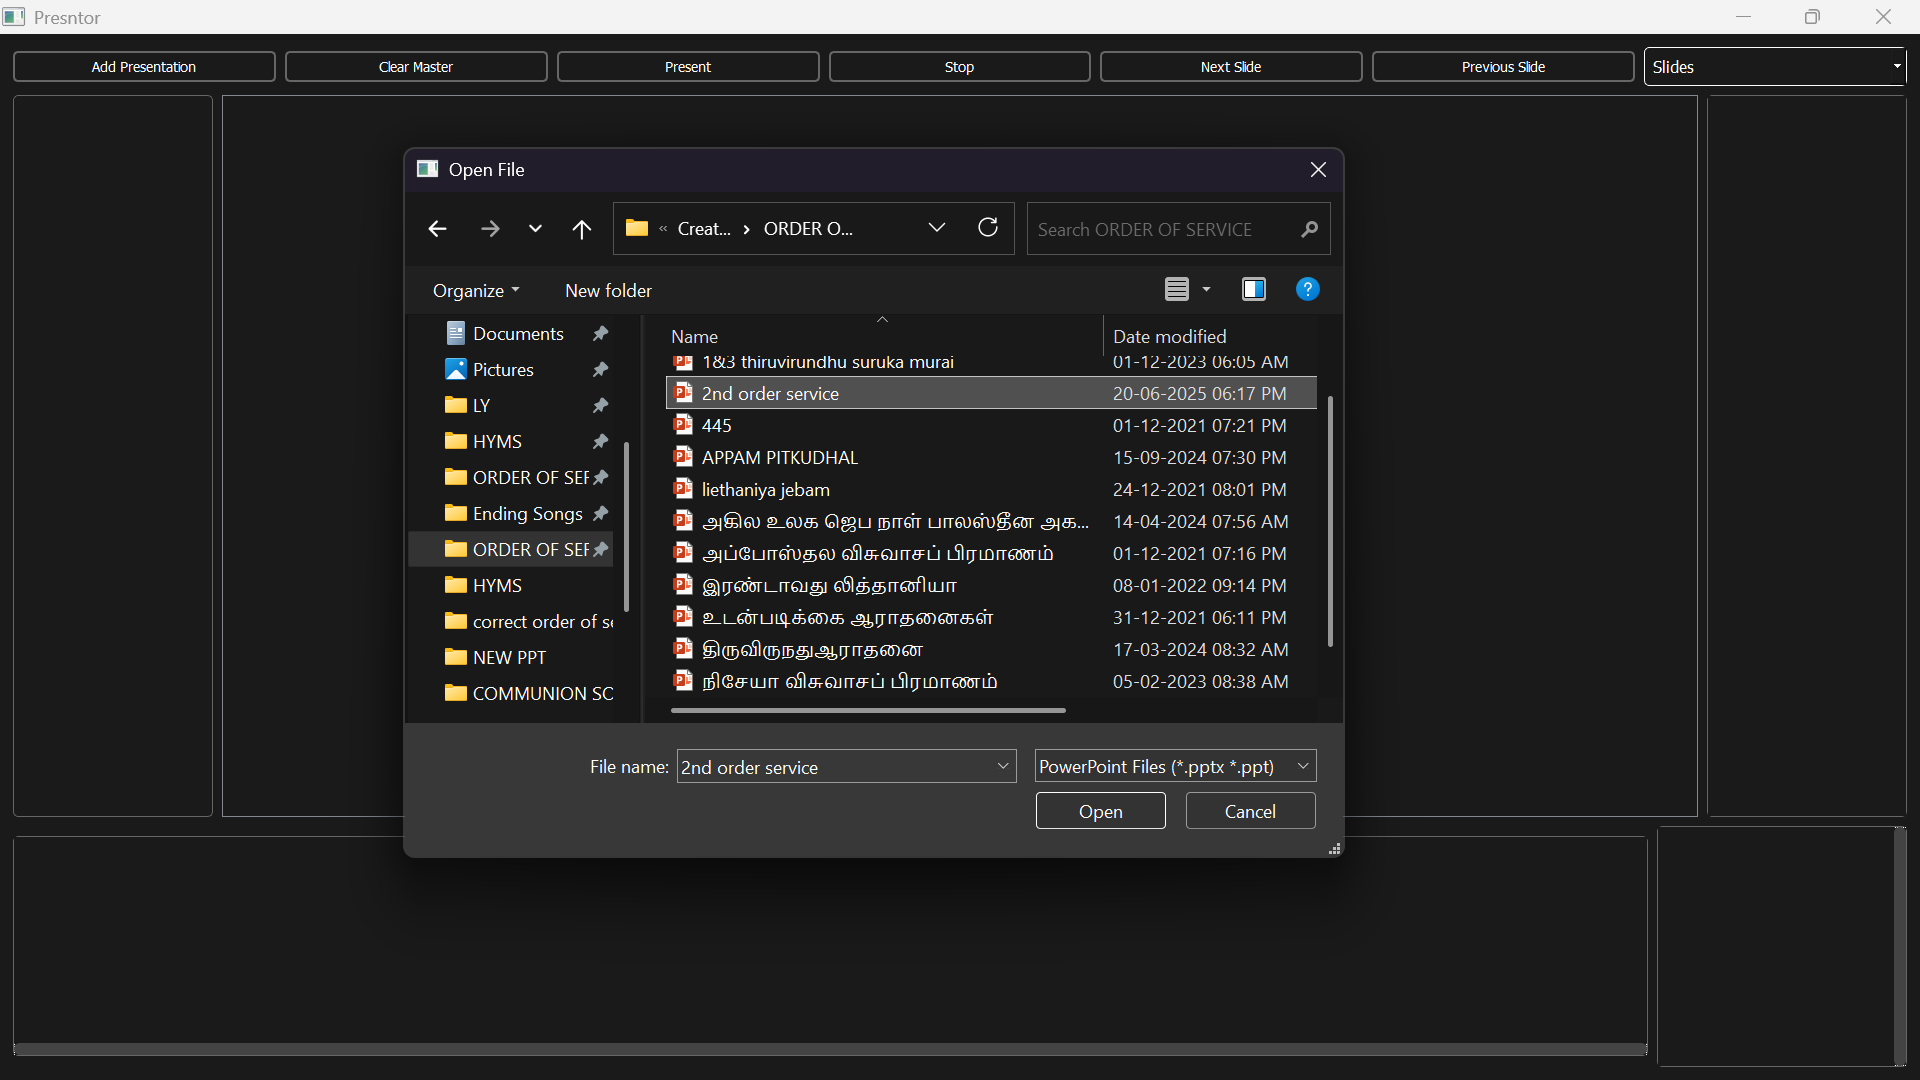
Section 2 – Loading Presentations
Add Slides, Images, or Videos
Clicking “Add Presentation” opens a file dialog where you can select .pptx, .ppt, images, or videos. Each file type is handled as follows:
- .ppt files are automatically converted to .pptx.
- Images are converted into one-slide presentations.
- Videos are listed and handled appropriately depending on where they are dropped.
- Thumbnails are generated for every file and added to the Presentation List panel.
You can click a presentation to view all its slides in the right-side panel.
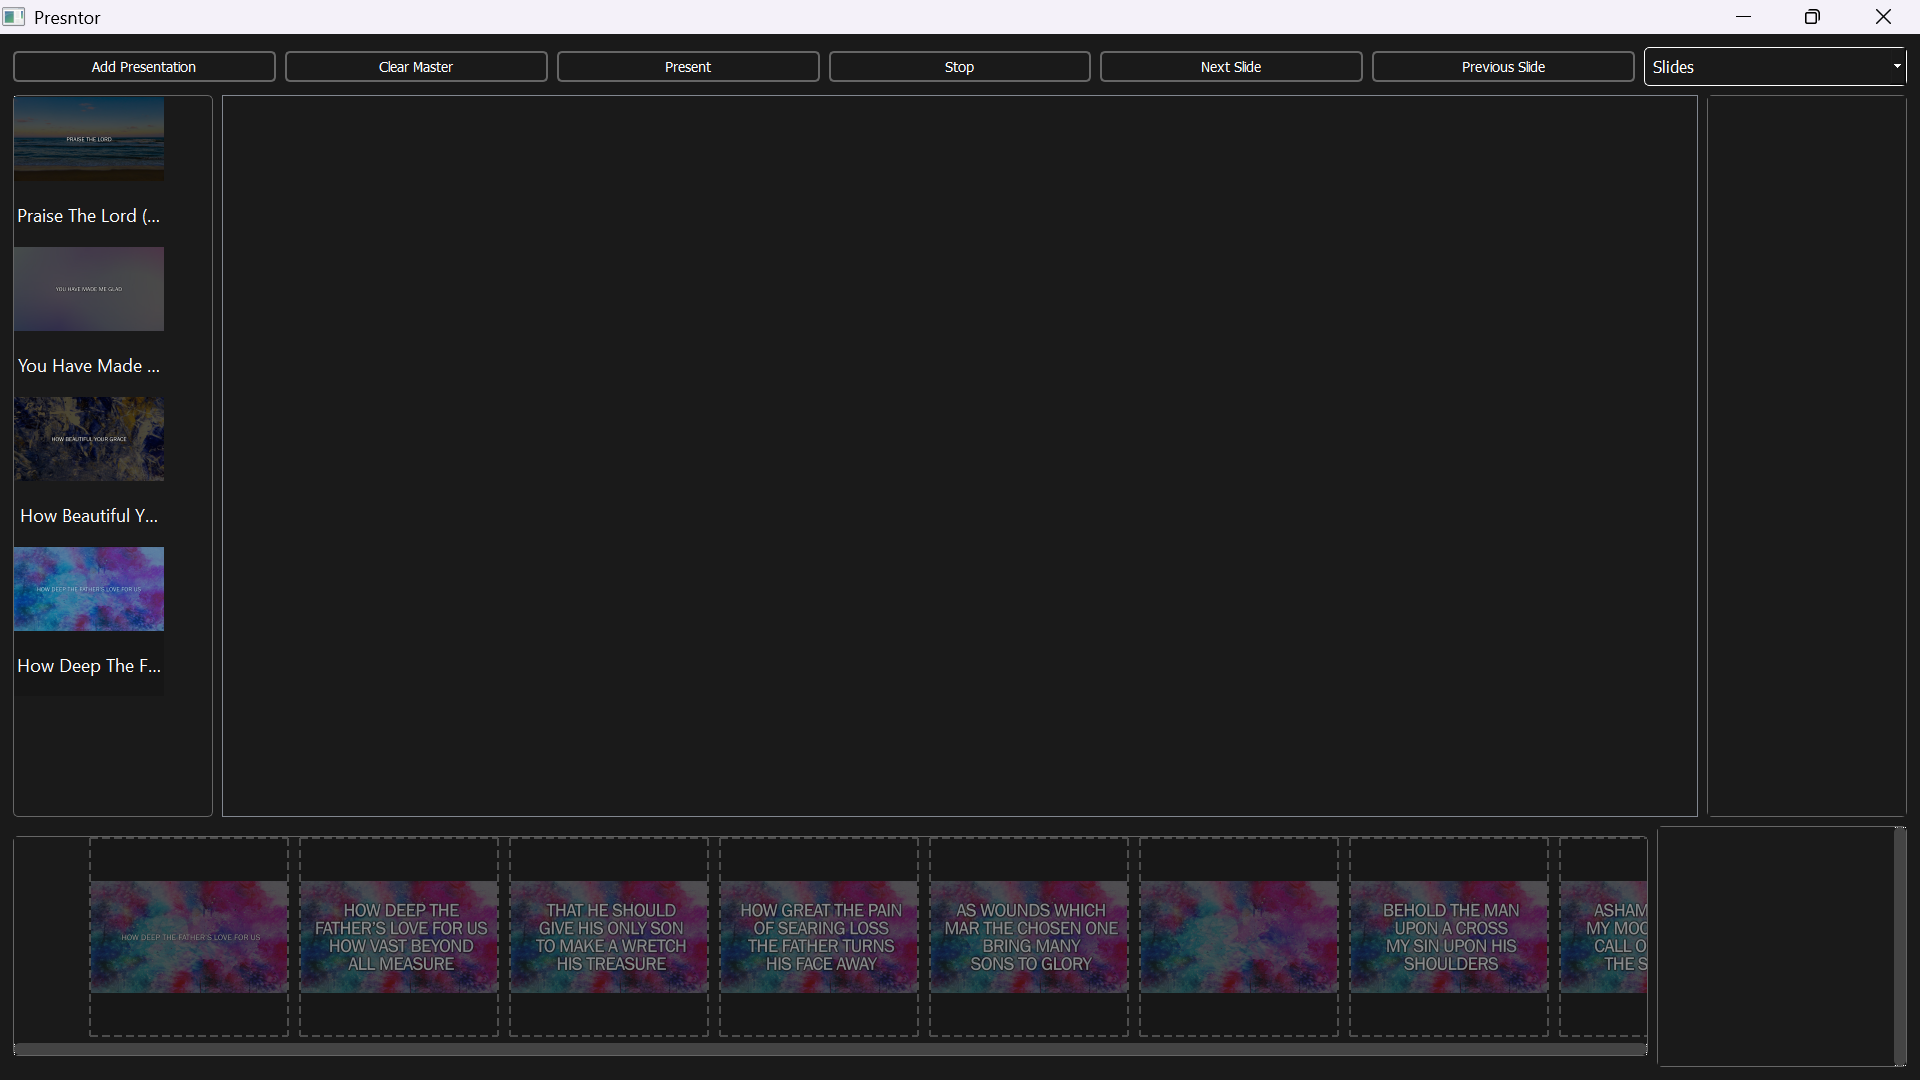
Section 3 – Master Slide Timeline
Build Your Presentation Session
This section functions like a video editor’s timeline, allowing you to sequence slides from different sources in presentation order:
- Drag a full PPT into the timeline — a preview shows slide thumbnails before drop.
- Slides from the same file are grouped and collapsible.
- Each group has a collapse and delete button.
- Single slides from the right panel (non-grouped) can be dragged into the timeline.
- Slides and groups can be rearranged or deleted by drag or hover buttons.
- The Clear Master button removes all timeline content.
- Changes auto-merge into a new .pptx that maintains all transitions, themes, and animations.

Section 4 – Presenting Slides
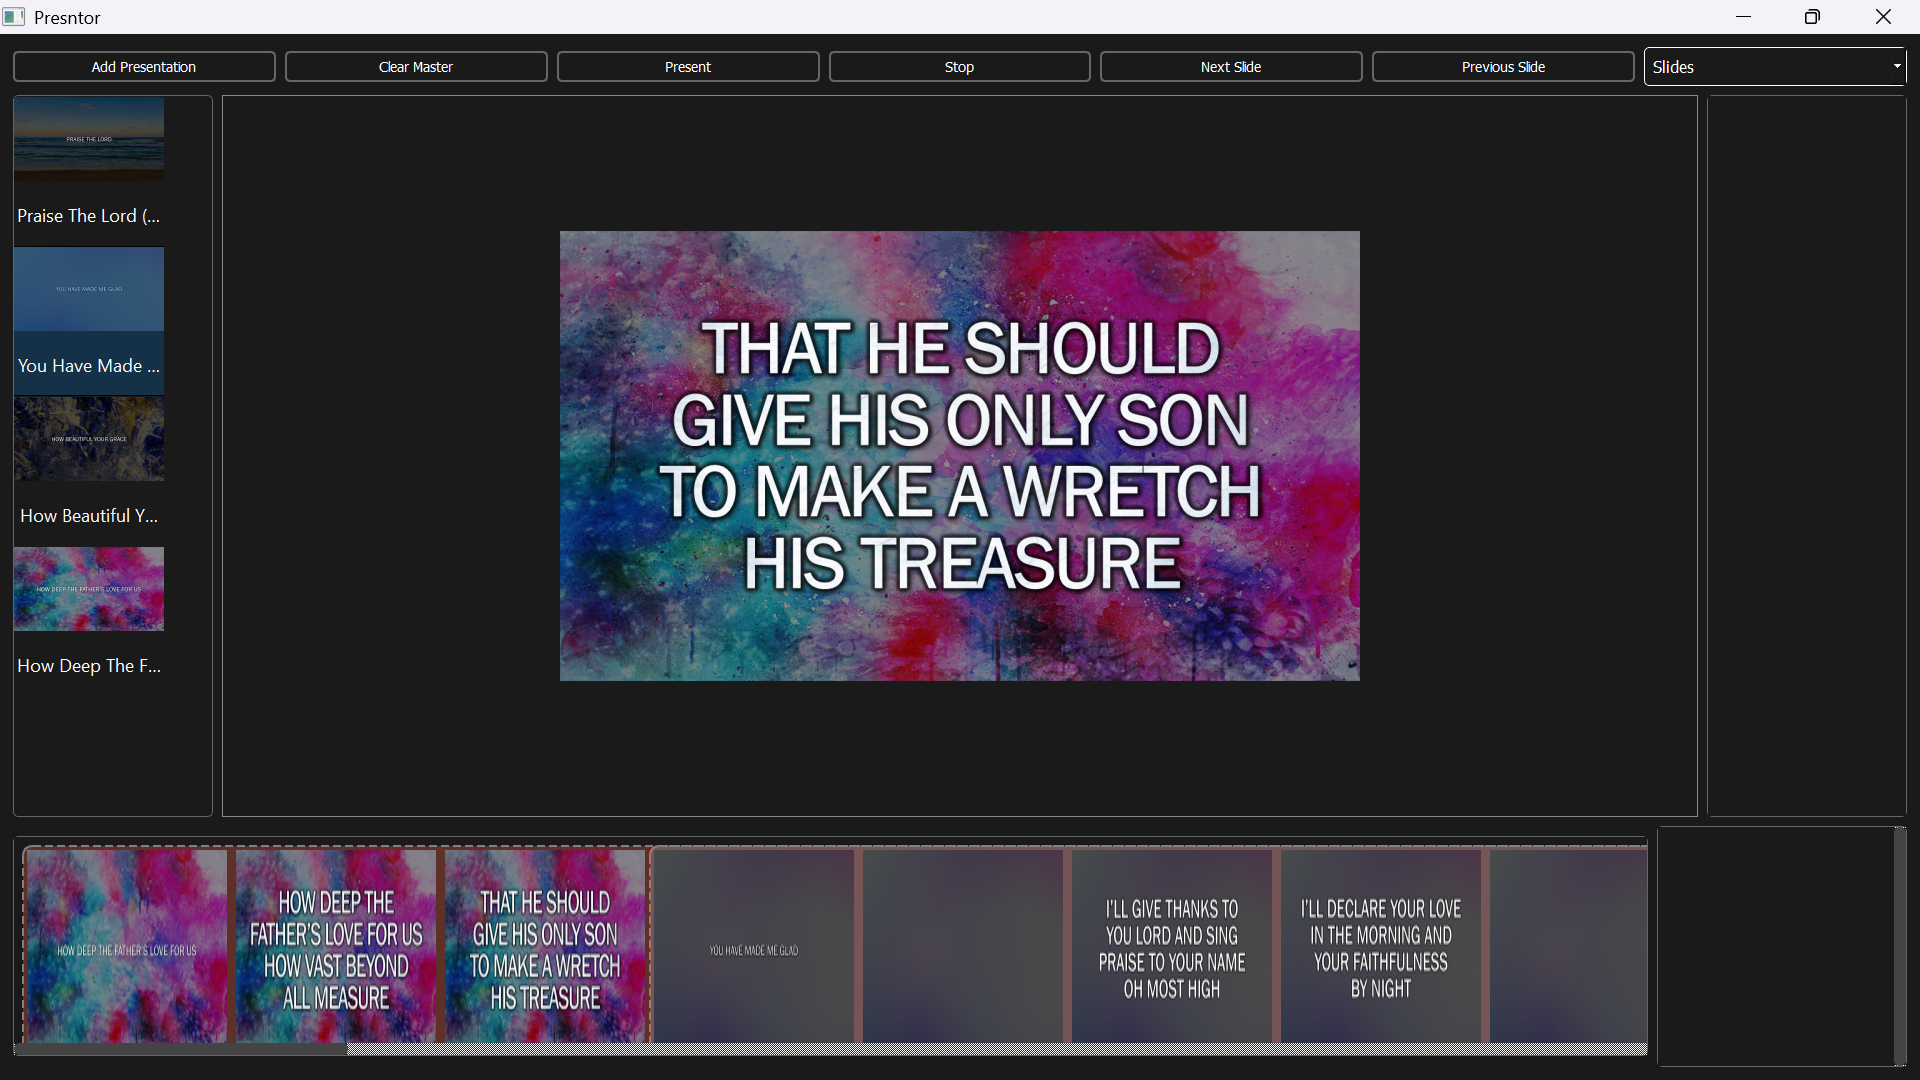
Select. Present. Navigate.
Select a slide from the Master section to make it the Current Slide. Click “Present” or press Enter to start presenting from that slide in PowerPoint. Navigation options:
- Next Slide – Right Arrow or “Next” button
- Previous Slide – Left Arrow or “Previous” button
- Stop Presentation – “Stop” button or Escape key
Section 5 – Quick Present Section
Need Something Shown Immediately?
The Quick Present panel allows fast drag-and-drop for files that must be shown instantly, bypassing the master timeline:
- Drop a PPT/Image to present it directly in PowerPoint
- Drop a video to launch it full-screen in VLC
- Clicking the panel also opens a file dialog for quick presenting
If you want to add a video to the timeline, drag it into Master instead; it will be converted into a slide with embedded video.
Section 6 – Bible Verse Mode
Display Scriptures Seamlessly
When the dropdown is switched to “Bible Reading”, the right panel changes to VerseView controls. You can:
- Enter a Bible reference (e.g., John 3:16)
- Click “Present Verse” to show it via VerseView
- Use “Previous” / “Next” or arrow keys to navigate
- Press Esc or “Stop” to clear the verse
The dropdown reference selector is only used in a custom church version and is hidden in public builds.
Section 7 – Voice-Controlled Bible Reading
Automatic Verse Changes Based on Speech
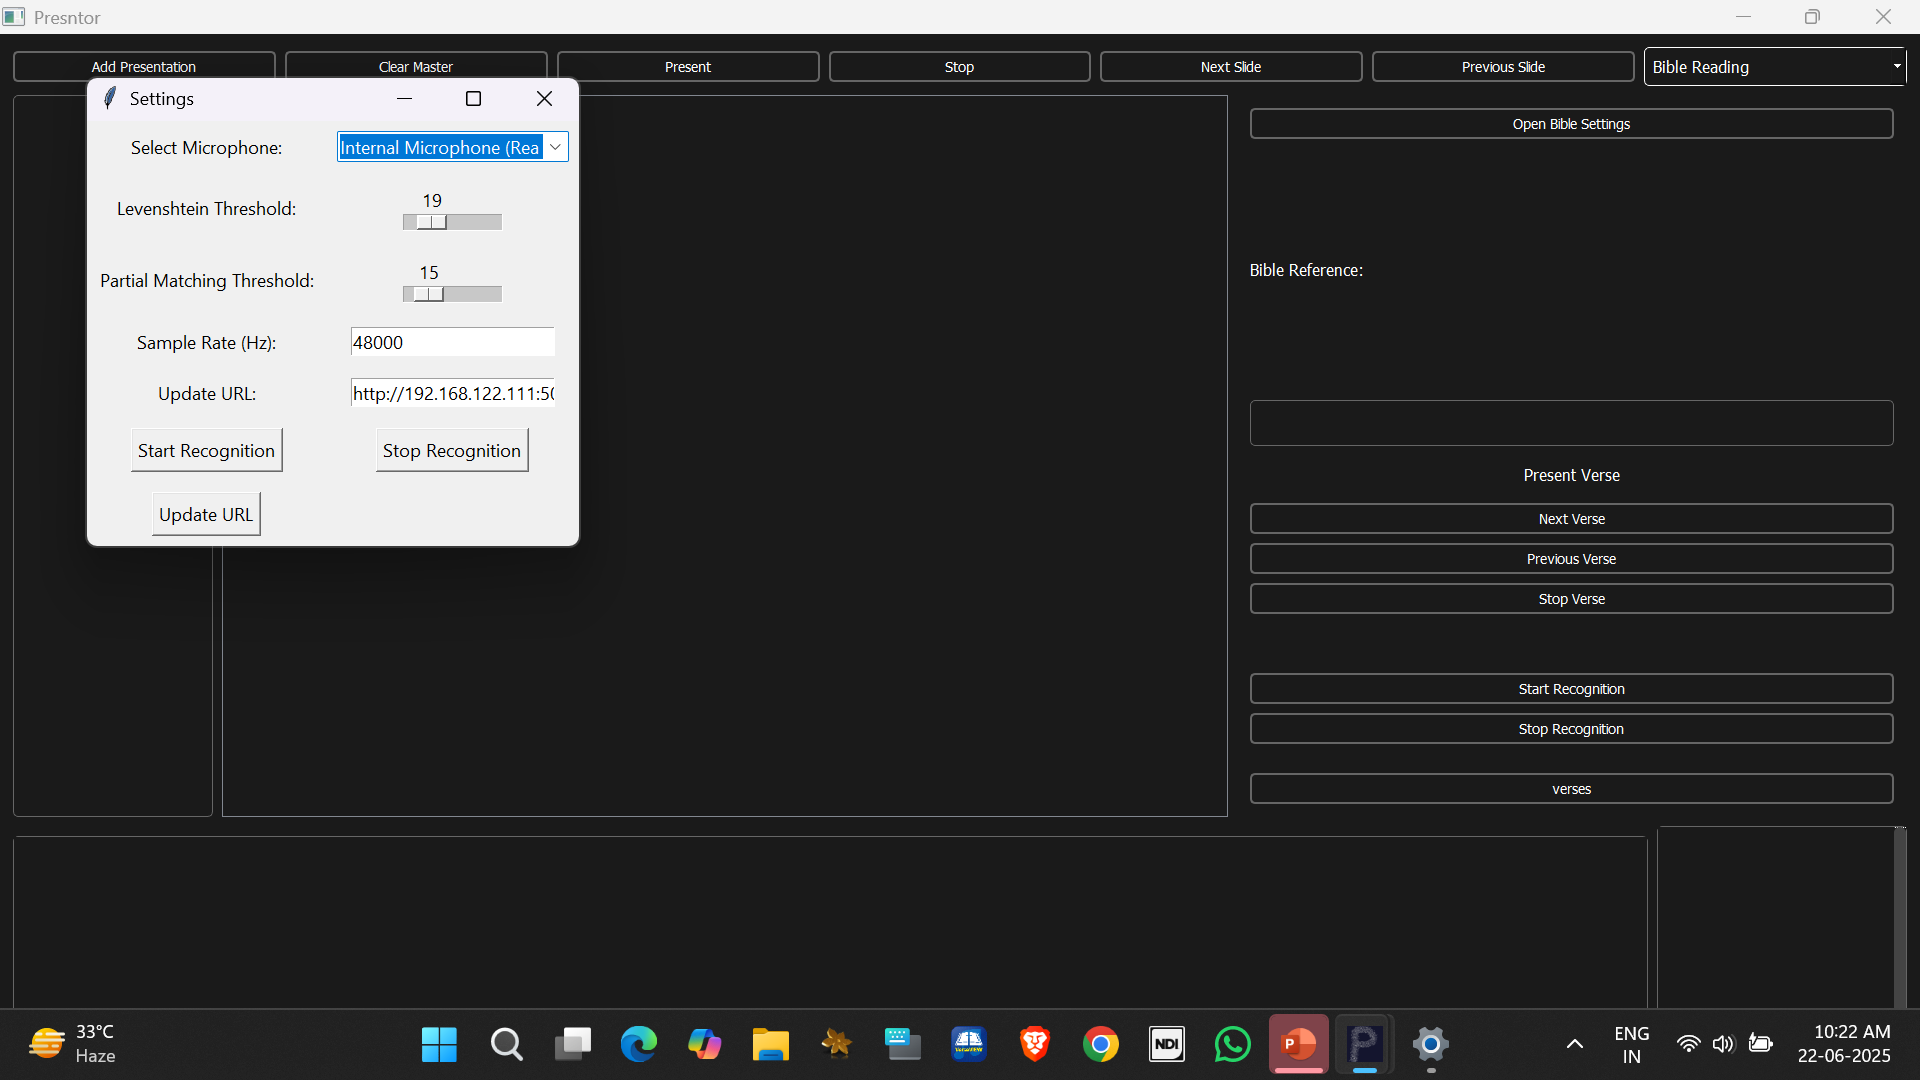
Click “Start Recognition” to begin microphone listening. Presntor uses Google Speech-to-Text to transcribe audio and decide when to trigger “Next Verse”. Matching is based on:
- Levenshtein Distance + Partial Match
- Partial Match + Keyword Match (last 3 words)
- Levenshtein + Keyword
Settings let you configure:
- Microphone input
- Sample rate
- Levenshtein and partial thresholds
- VerseView control URL
Ensure you’ve created a biblereadingspeech.json with your Google API credentials and set the URL (e.g., http://192.168.122.111:5050/control.html).
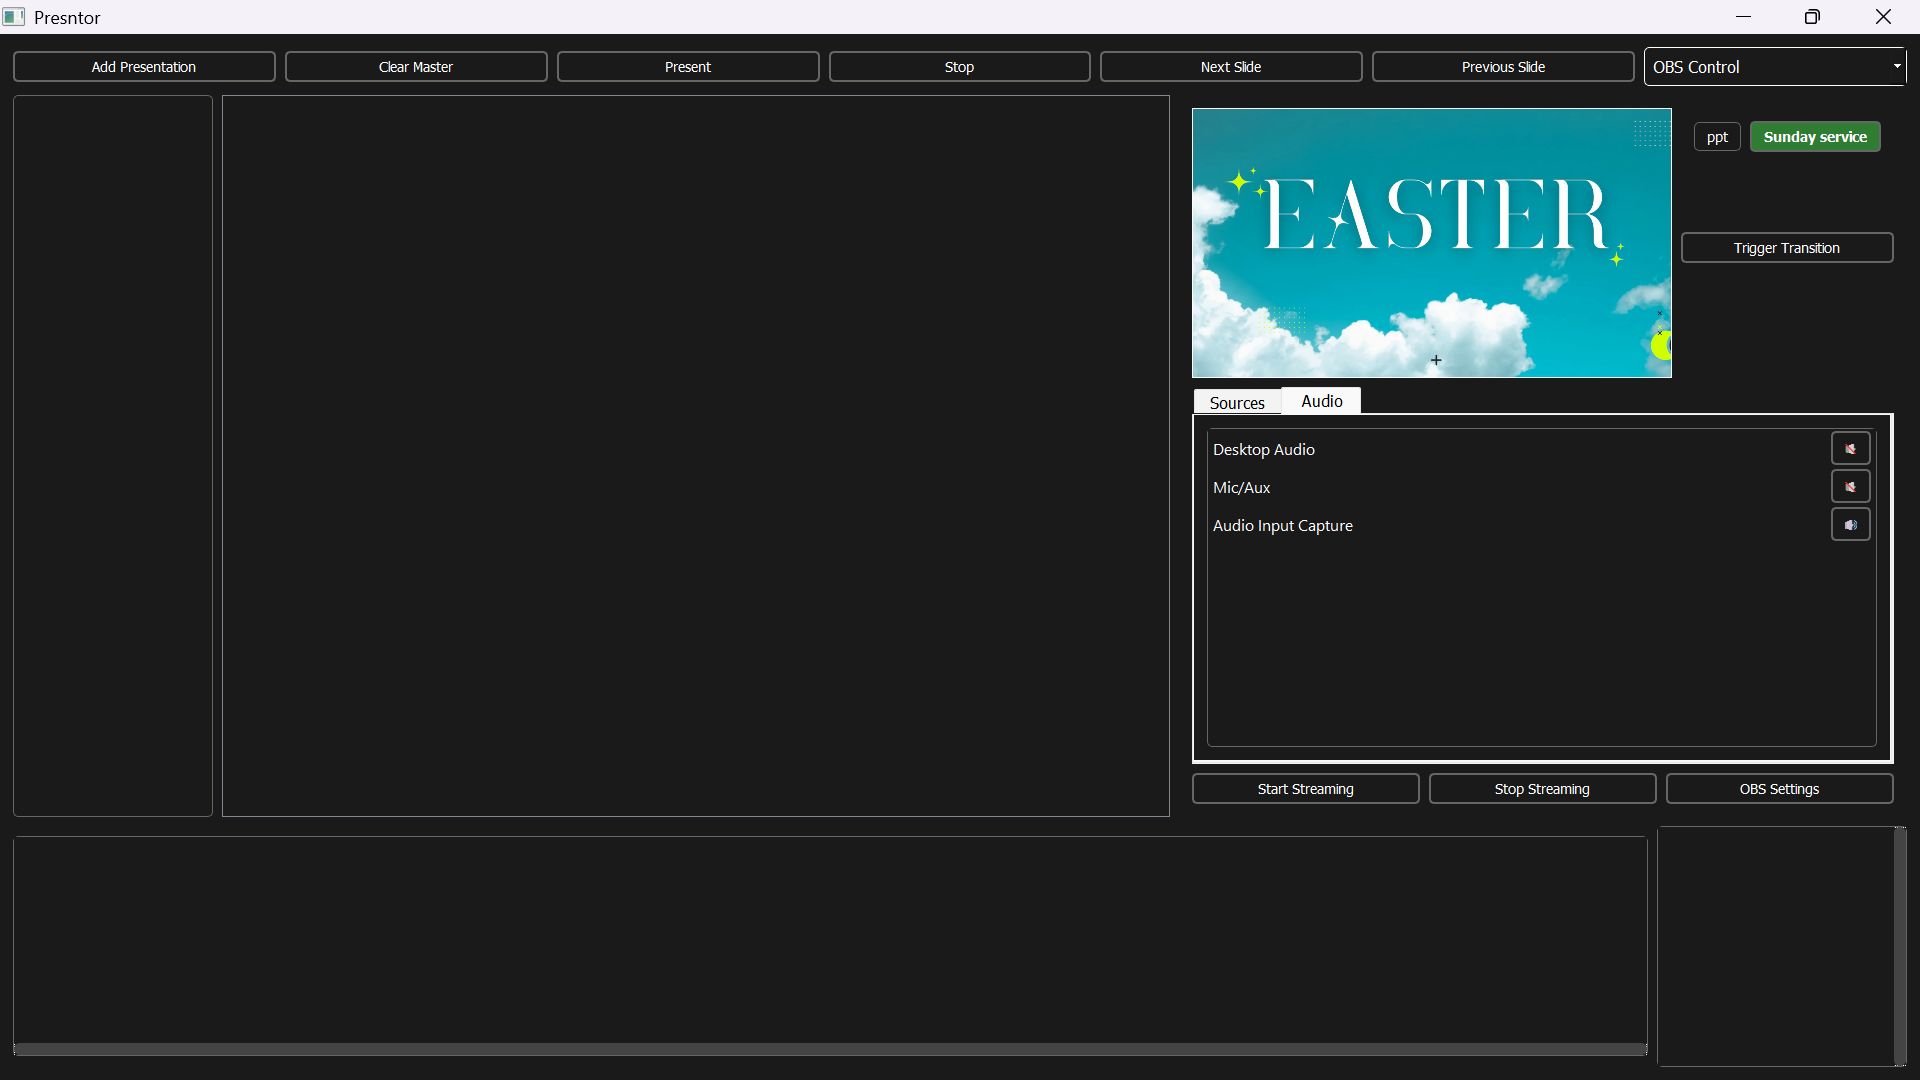
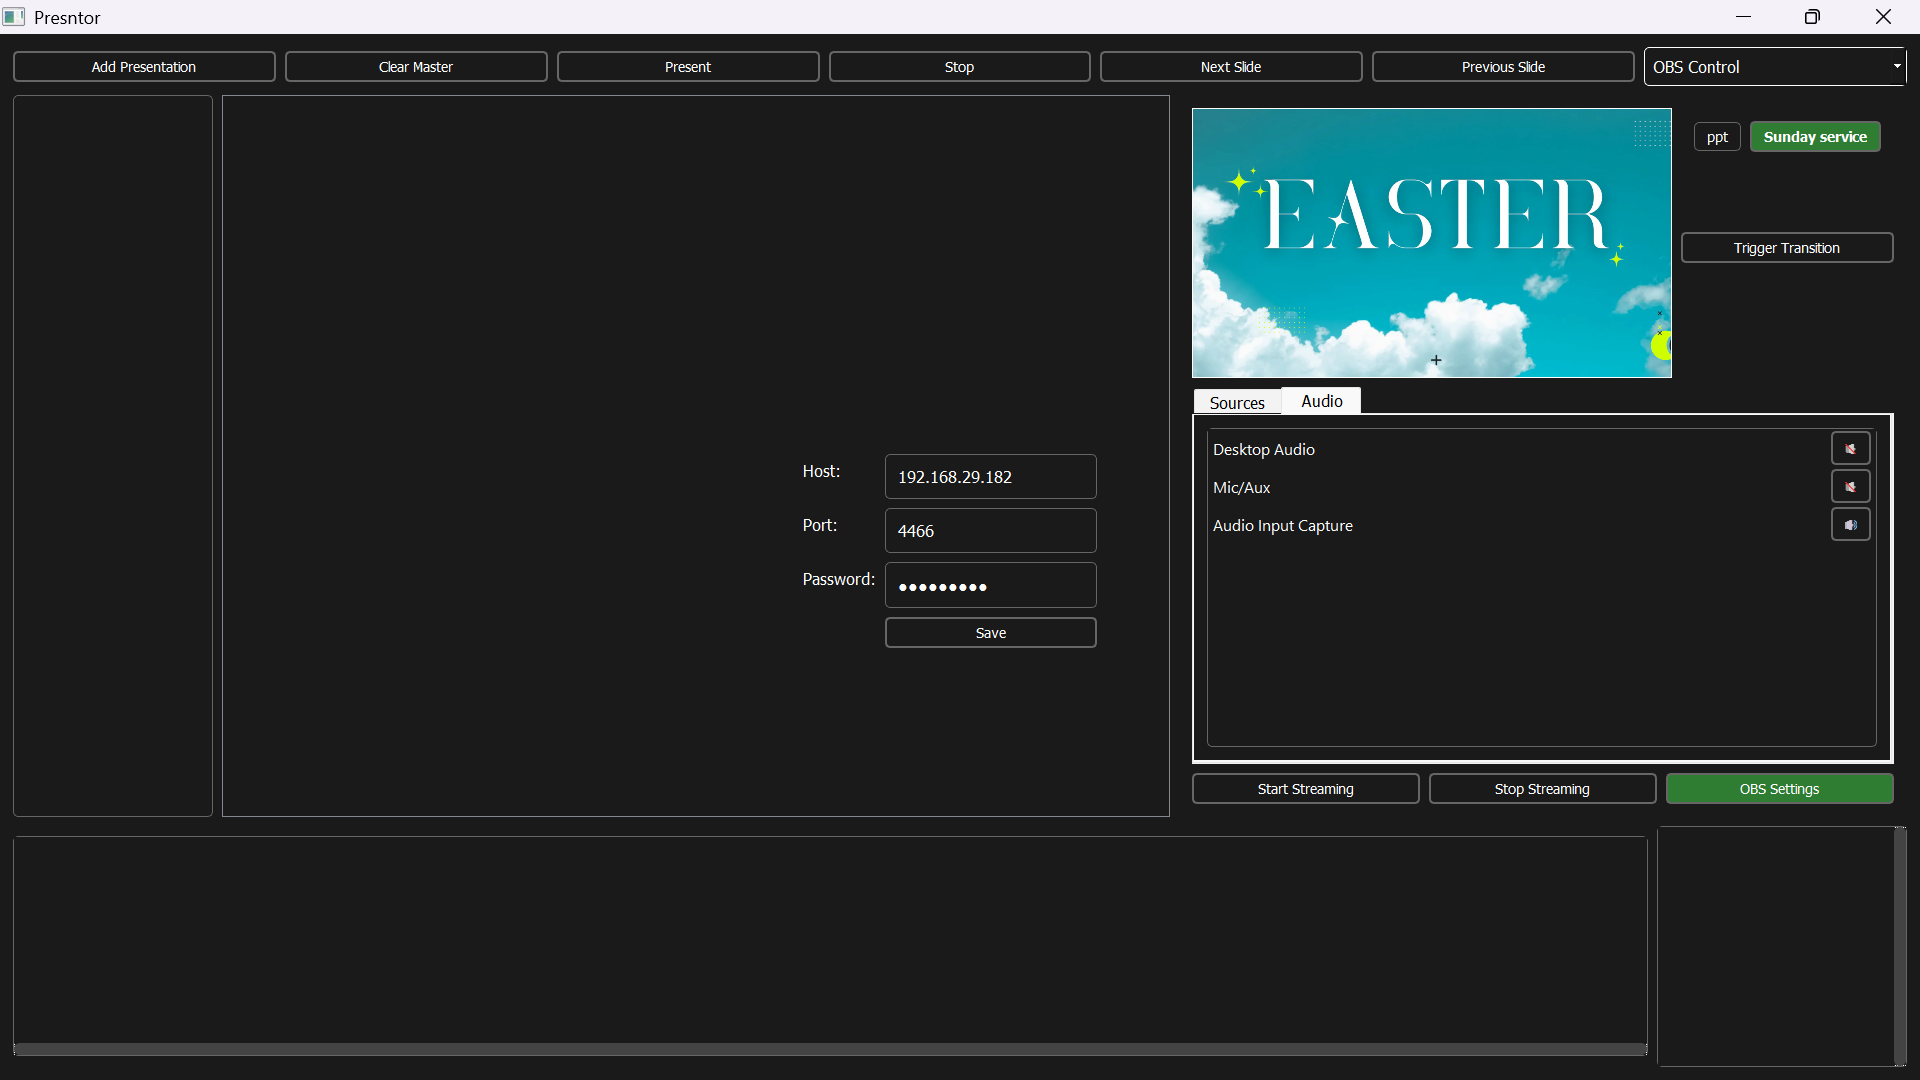
Section 8 – OBS Integration
Full OBS Studio Control Without Leaving the App
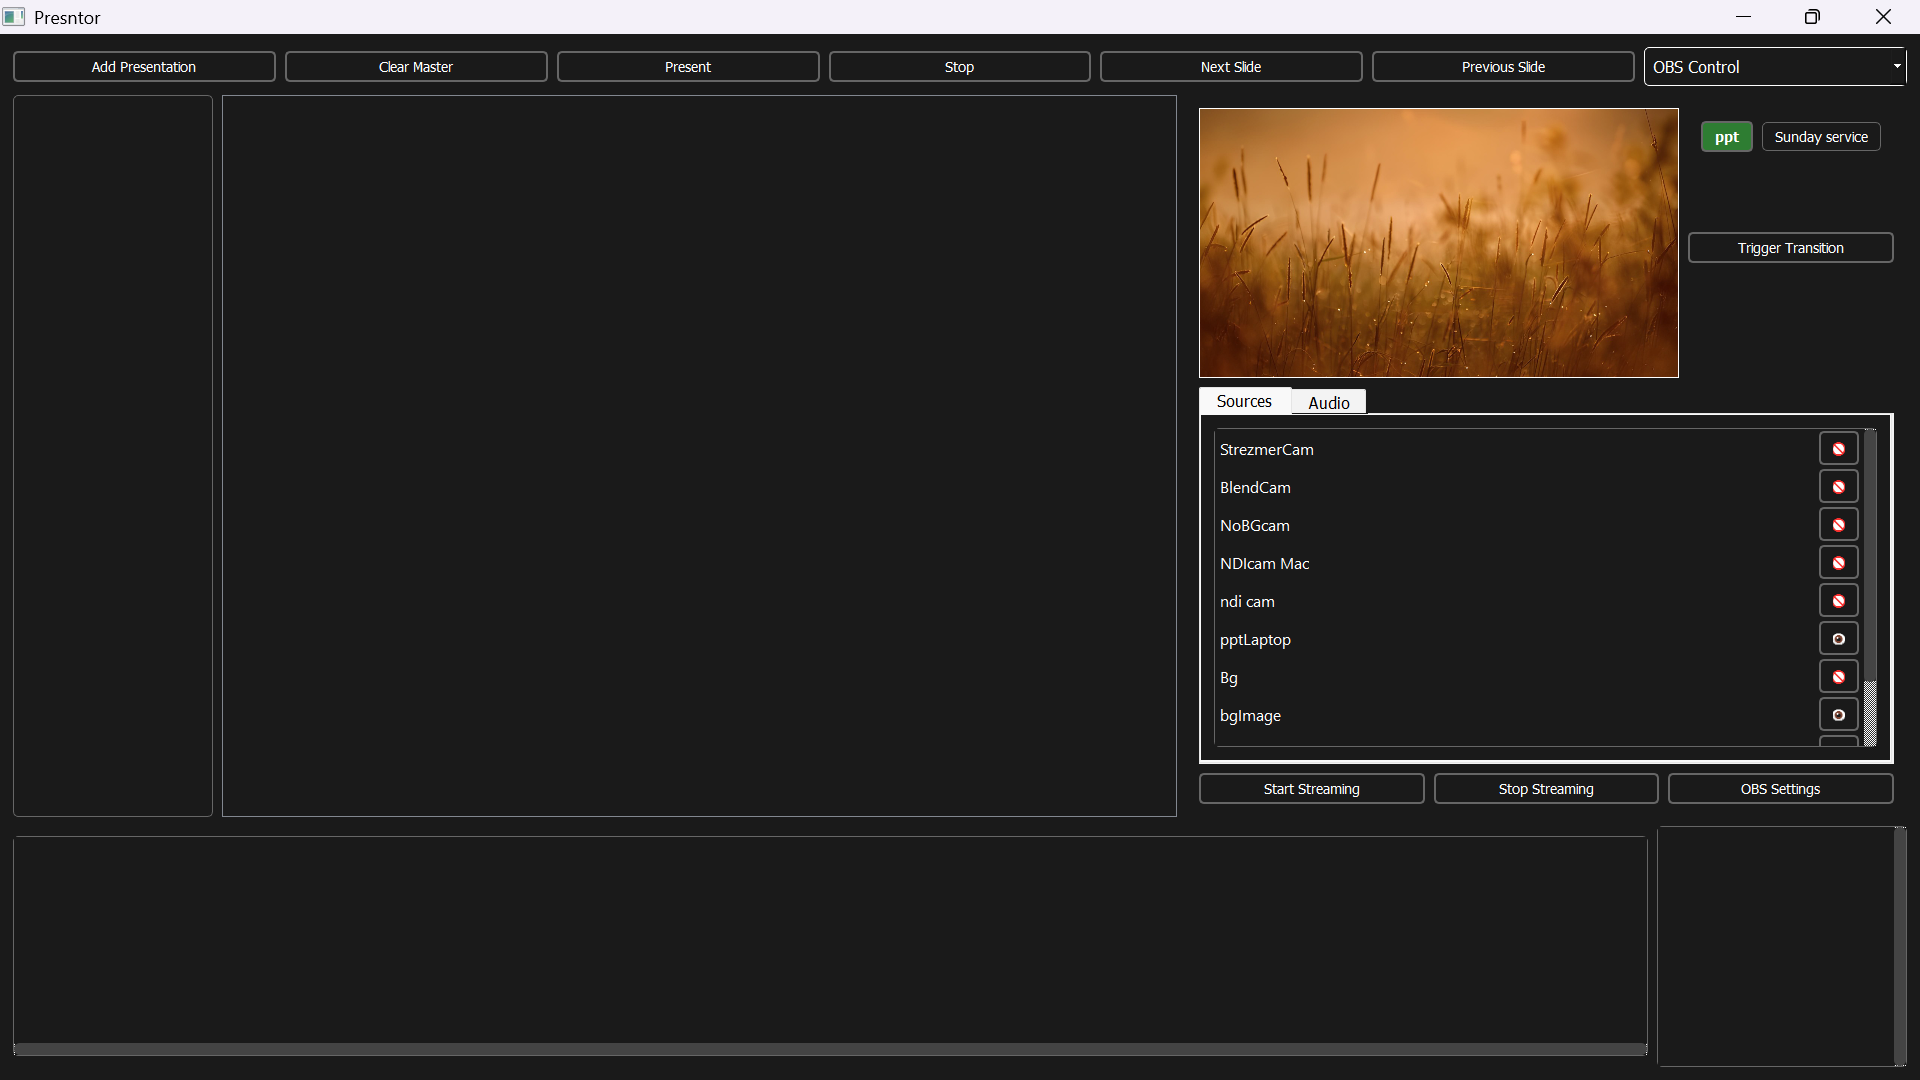
Switch the dropdown to “OBS Control Mode” and use the live OBS preview to:
- View current OBS preview scene
- Click Scene Buttons to switch scenes
- Trigger a fade/cut transition
- Use tabs below to control source visibility or mute/unmute audio inputs
- Start/Stop streaming and open OBS Settings
Presntor communicates with OBS via WebSocket and continuously updates its interface.
Section 9 – Under the Hood
How It Works Behind the Scenes
- PowerPoint control uses COM Automation and pywin32 to merge slides and maintain formatting.
- Preview thumbnails are generated from exported PNGs.
- OBS integration communicates via WebSocket API.
- VerseView control is done via HTTP commands.
- Speech Recognition uses Google Speech-to-Text and match thresholds.
- All background processing is done in threads to avoid UI blocking.
Section 10 – Built For My Church
Why I Built Presntor
We used to run services juggling three different apps — one for slides, one for scriptures, and one for OBS streaming. It took multiple volunteers and a lot of coordination just to make it work. I built Presntor to unify all of that.
Now, everything — slides, scripture, stream control — can be run from a single app by one person, without the stress.
I’m releasing Presntor publicly to help others who need the same solution — and to show the kind of complete, end-to-end systems I design and develop.
Comments